Event Reconstruction Image
1 The overview of event reconstruction image
Due to the unique way event cameras collect data, they cannot directly use calibration methods such as Kalibr for images. Here, we will introduce a method of reconstructing images from events using deep learning, which is referenced from the paper High Speed and High Dynamic Range Video with an Event Camera. code link.
2 Environment configuration
This package is based on Pytorch, so it needs to be run in the virtual environment of Anaconda. The following will introduce the environment configuration process of E2calib:
2.1 Requirement
(1)Pytorch >= 1.0
(2)Numpy,Scipy,H5py,Tqdm,Rosbag
(3)Python
(4)OpenCV
2.2 Configurate environment with Anaconda
            conda create -n E2calib python=3.7

            conda activate E2calib

            conda install numpy scipy h5py tqdm

            conda install -c conda-forge opencv

            conda install pytorch torchvision cudatoolkit=$your_cuda_version

            #The specific installation commands for Python are subject to the official website.

            conda install pyyaml pycryptodomex

            pip install gnupg rospkg

            #rosbag needs pyyaml pycryptodomex gnupg rospkg

            pip install rosbag
3 Run
Run the following code in a virtual environment called E2calib to reconstructe image:
3.1 Convert the event flow in rosbag to .h5 format
            cd python

            python convert.py --input_file test.bag --output_file test.h5 --ros_topic /davis/events
--input_file : the address of the rosbag that needs to be converted.
--output_file : the address of the output .h5 file.
--ros_topic : the topic name of the event stream that needs to be converted in rosbag.

3.2 Offline reconstructe the .h5 file into an image through a pre-trained model
Download pre-trained model:
            cd reconstruction/e2vid

            wget "http://rpg.ifi.uzh.ch/data/E2VID/models/E2VID_lightweight.pth.tar" -O pretrained/E2VID_lightweight.pth.tar
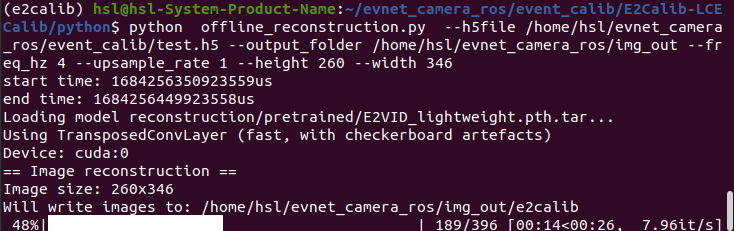
Offline reconstructe image:
python offline_reconstruction.py --h5file test.h5 --output_folder path_to_folder --freq_hz 5 --upsample_rate 1 --height 260 --width 346
--h5file : the address of the input .h5 file.
--output_folder : the output address of the reconstructed image.
--freq_hz : the frame rate of the reconstructed image.
--upsample_rate : Upsample rate.
--height : the height of the reconstructed image.
--width : the width of the reconstructed image.
If the following error occurs

This error is due to the missing GLIBCXX_3.4.29 in libstdc++.so.6 of /lib/x86_64-linux-gnu. The solution process is as follows:
(1)Using instruction to query which versions of GLIBCXX are currently available in the system.
strings /usr/lib/x86_64-linux-gnu/libstdc++.so.6 | grep GLIBCXX
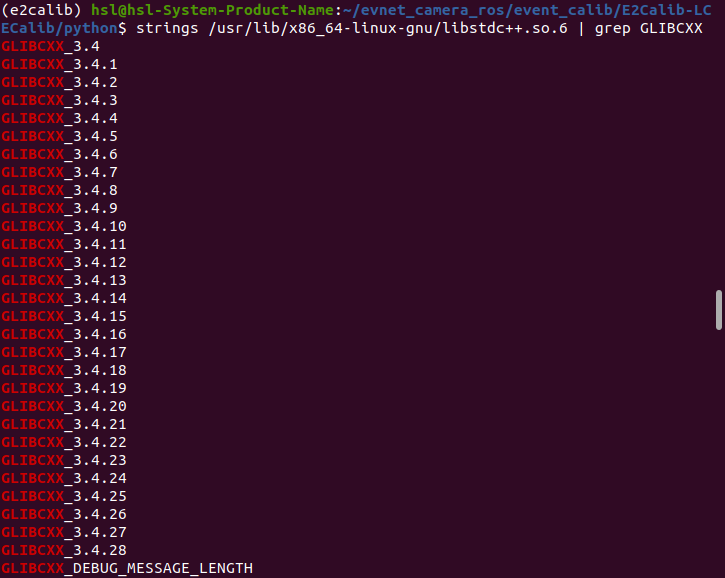
Obviously, the highest version is 3.4.28, missing 3.4.29.
(2)Check other files of the same type in the current system and find a higher version.
sudo find / -name "libstdc++.so.6*"

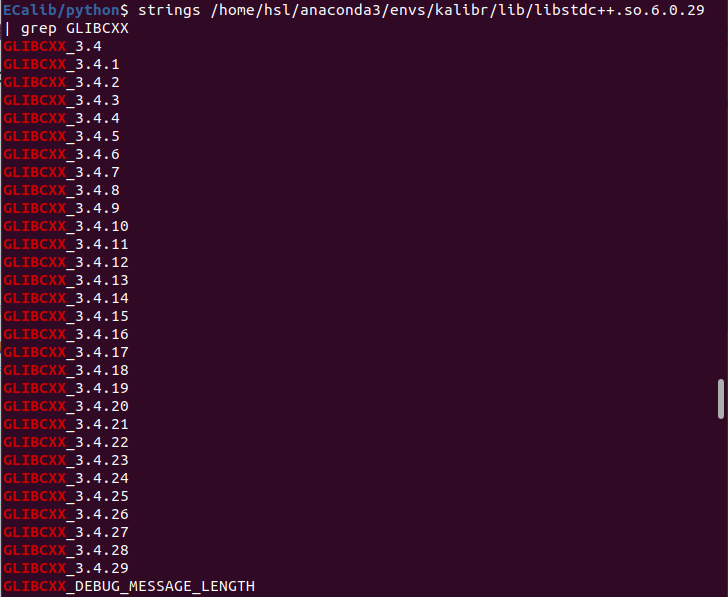
(3)Check above virtual environment, and find a higher version of GLIBCXX.
The instructions for querying the GLIBCXX version in a virtual environment are as follows:
strings /home/hsl/anaconda3/envs/kalibr/lib/libstdc++.so.6.0.29 | grep GLIBCXX
Skip the steps of querying one by one here, and finally find it in the kalibr.
(4)Copy /home/hsl/anaconda3/envs/kalibr/lib/libstdc++.so.6.0.29 to /usr/lib/x86_64-linux-gnu/
sudo cp /home/hsl/anaconda3/envs/kalibr/lib/libstdc++.so.6.0.29 /usr/lib/x86_64-linux-gnu/
(5)Delete old link
sudo rm /usr/lib/x86_64-linux-gnu/libstdc++.so.6
(6)Build new link
sudo ln -s /usr/lib/x86_64-linux-gnu/libstdc++.so.6.0.29 /usr/lib/x86_64-linux-gnu/libstdc++.so.6
(7)Finally, run the offline_reconstruction.py
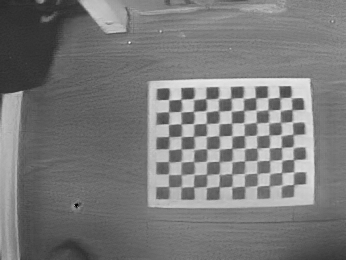
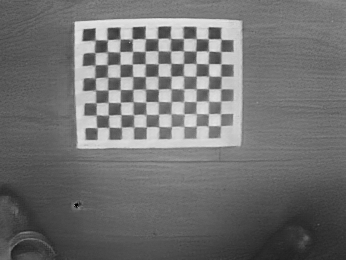
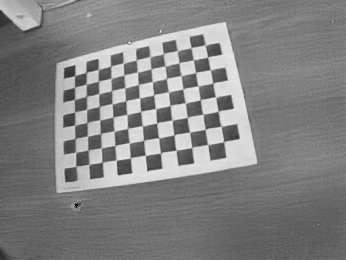
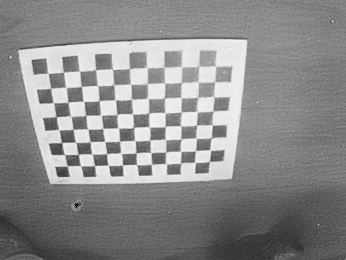
4 Our reconstruction image