VLP-32C_Driver
1. Abstract
In this report, we will provide a brief overview of our VLP-32C Driver configuration process This primary involves configuring Ethernet, download and compile driver, display point clouds and topics
2. Configuring Ethernet
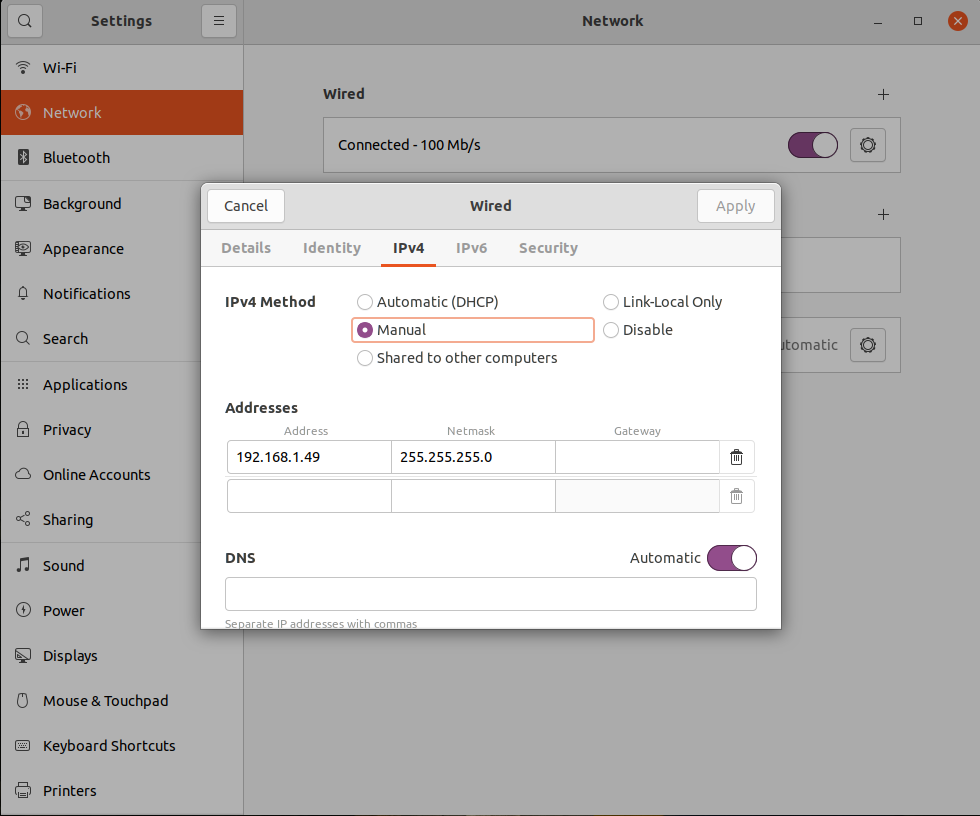
Firstly, connect the network cable to the PC to ensure that the browser can log in to 192.168.1.201 normally and enter the LIDAR settings interface. (default setting address), set ipv4: IP address: 192.168.1.x (x can be all values from 1 to 254 except for 201, as 201 is the IP of LiDAR), I set 192.168.1.49 Subnet Mask: 255.255.255.0.

3. Download and Compile Driver
Download the driver package from the official website, then create a new ROS workspace, execute compilation, and source the workspace
              mkdir -p vlp_ws/src

              cd vlp_ws/src

              git clone https://github.com/ros-drivers/velodyne.git

              cd ..

              catkin_make

              source devel/setup.bash
4. Display
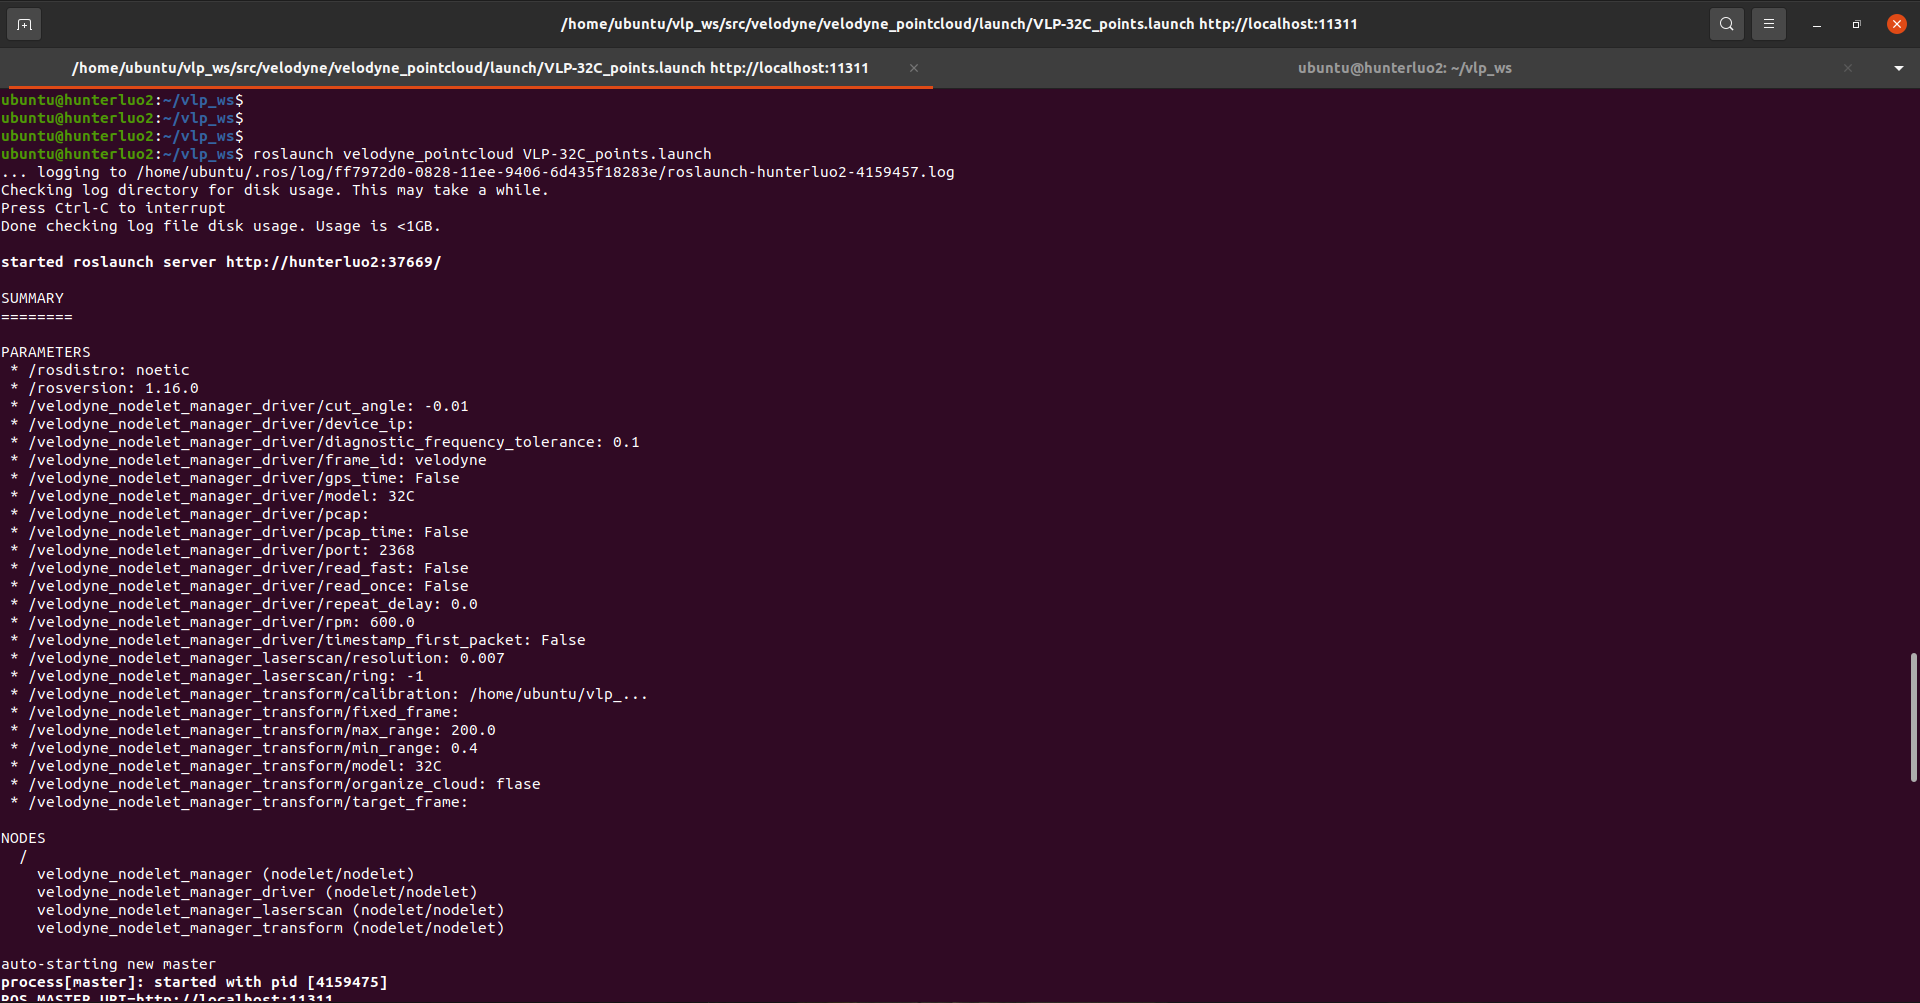
After compilation, run the launch file in the workspace, and then start rviz to display the point cloud
roslaunch velodyne_pointcloud VLP-32C_points.launch
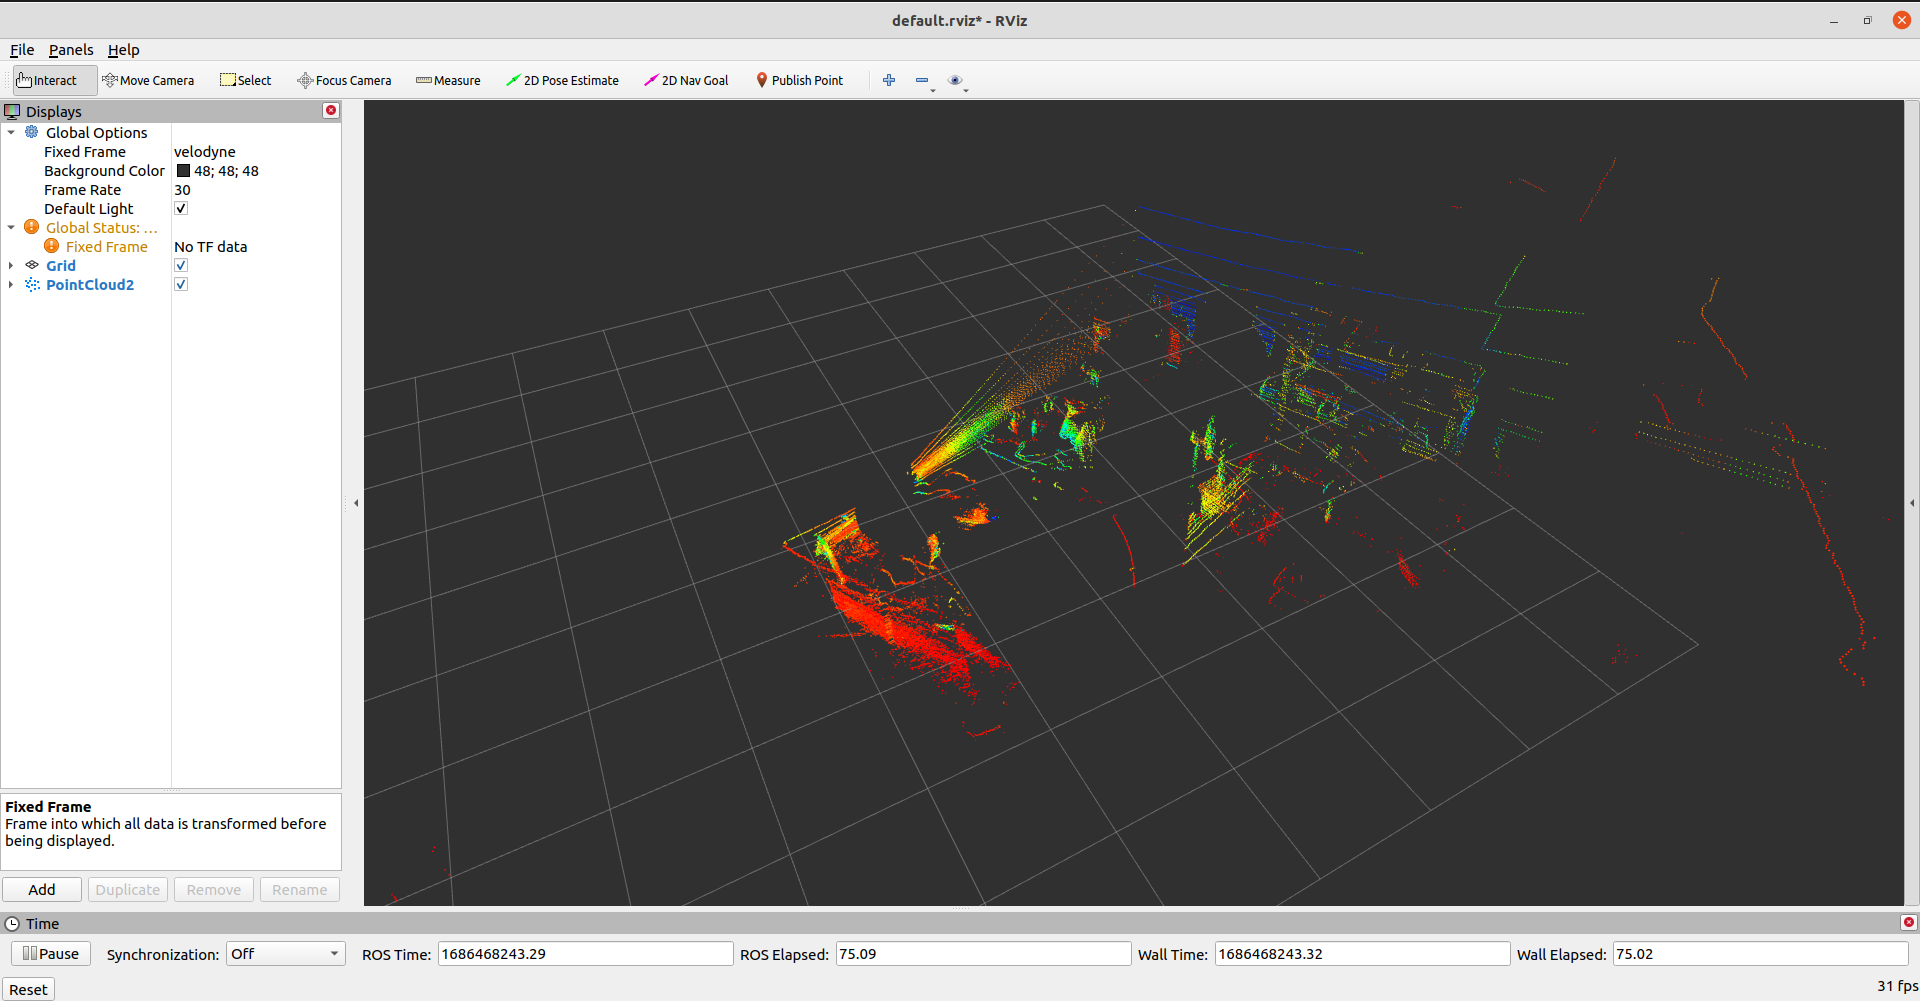
Run rviz (3D visualization tool)
rviz
Click add, add pointcloud2 by topic, and modify the frame ID to velodyne to display the obtained 3D point cloud image in real-time.
                rostopic list

                rosbag record /velodyne_packets (in compressed format, or velodyne points)